8. Version control with git#
Version control is like “track changes” mode for code.
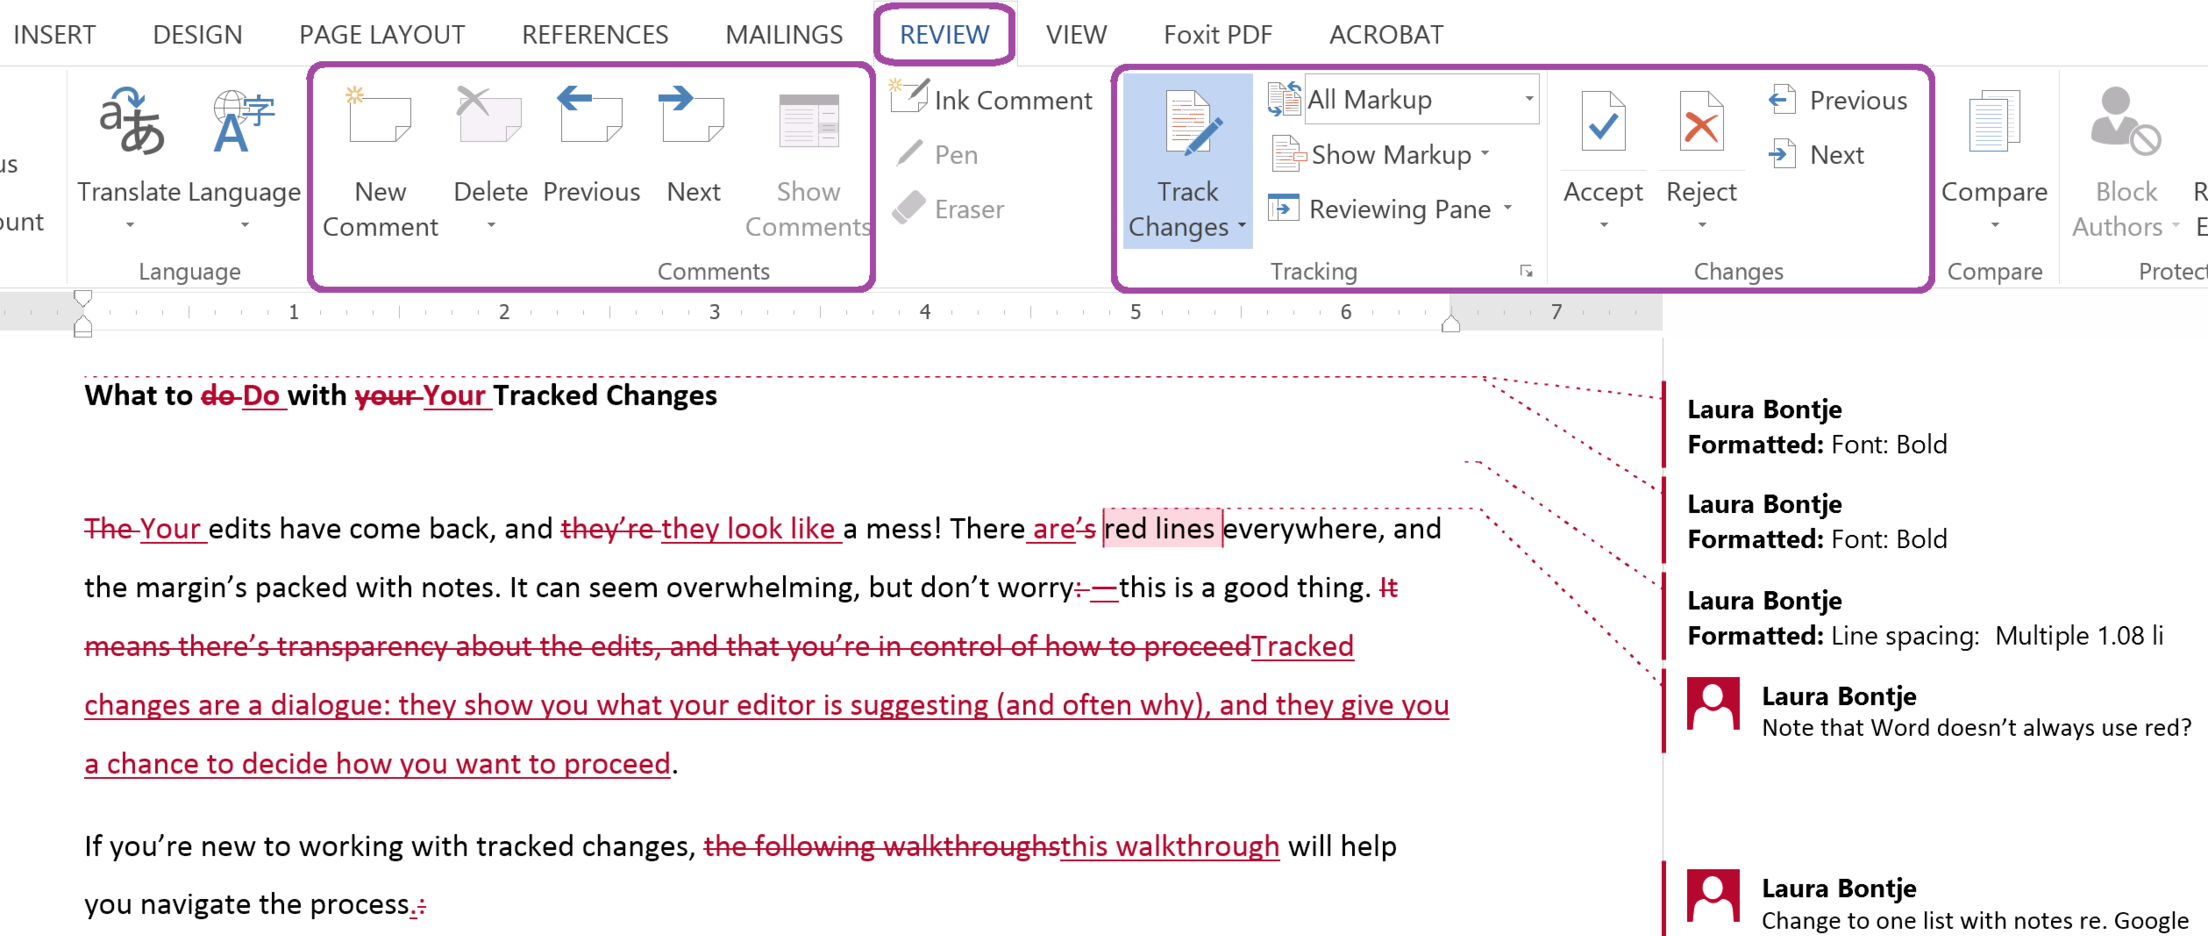
Fig. 2 Source: Laura Bontje#
We’ll be covering version control with git, which is by far the most popular version control system.
Just like “track changes” mode on a document, git lets you propose changes, restore old versions, and see who made changes. But git takes version control to the next level with tools for collaboration, documentation, working across many files, and precise control over when a new version is created.
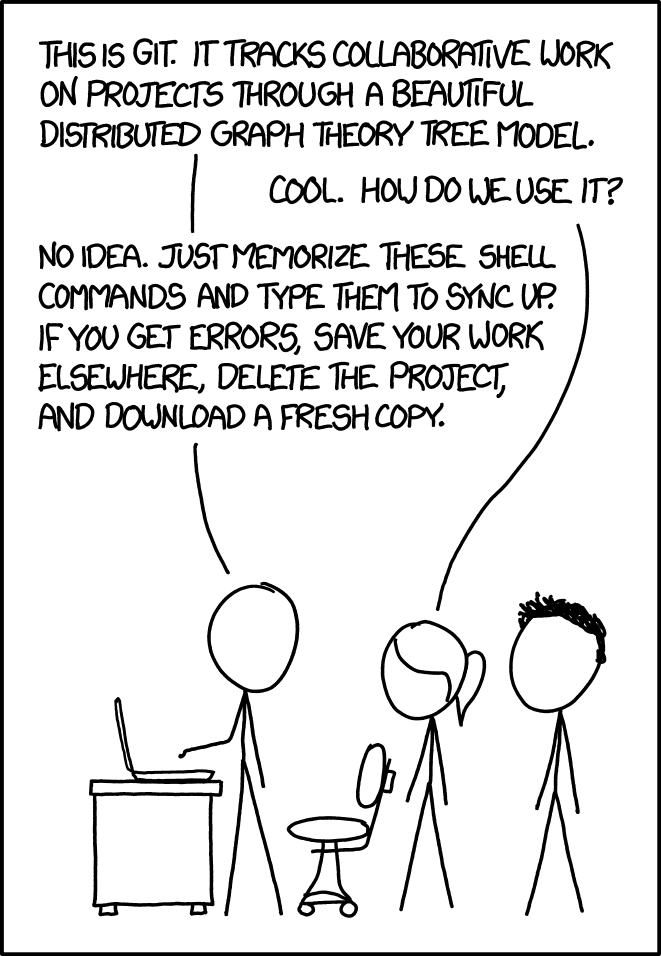
Git can get pretty complex: it was designed to manage the linux project which is up to 1.3 million changes from 15,000 developers!
To keep things manageable we’ll cover the basics in this module, and provide links to more advanced topics.
Why use version control?#
Reproducibility. Version control can record the exact code you used to produce a particular result, so that analysis could be repeated by anyone (including yourself!) in the future.
Collaboration. Version control facilitates collaboration by allowing multiple people to be working on the same project or even file at the same time, with tools for avoiding and resolving conflicts. Using an online interface like GitHub also makes it easy to share your code and results with coworkers and the public.
Experimentation. Because version control stores snapshots of the state of your code, you can safely hack away at a new approach, knowing things can always be reverted back to precisely the way they were.
Backup. When using a remote server like GitHub, your code is saved in a second place in case of a laptop malfunction!
A tour of GitHub#
GitHub is the most popular git hosting service. You can use git without any web-based hosting provider, but GitHub’s interface makes many git workflows a lot more intuitive, and is also the place where a lot of open source collaboration is done.
Let’s walk through some of the most useful GitHub features from the perspectives of
navigating your own code
collaboration with others
managing the dependencies in your code
Git vs GitHub#
Git is a command-line tool that’s included in the
py4wrdsconda environment. It’s used on our computer to interact with version controlled files. Git is open source software.GitHub is a website that can store git projects. GitHub is a proprietary company (owned by microsoft), though you can create a free account with access to most features, and no account is needed to browse public projects.
Repositories#
A project in git is known as a repository. A repository is a folder, all the file in the folder are under the same version control system.
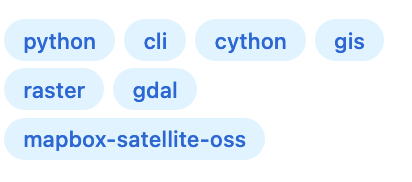
GitHub adds some extra concepts at the repository level, such as issues (bug reports) and topics (theme tags).
A GitHub repository has two components: the user, then the name of the actual repository. So the GitHub URL github.com/CAWaterBoardDataCenter/DWRAT represents the DWRAT tool published by the CAWaterBoardDataCenter organization.
Unlike most office document cloud, GitHub has the option to make your repository publicly accessible and findable by searching: in fact that’s the default! Be sure to mark internal projects as private. Remember too that git tracks history: publicising a private repo will make all your old deleted code public too.
The GitHub UI features a file browser for searching navigating, and viewing the files and folders of a repository. A handy feature for data science work is that notebooks are rendered. This makes GitHub a convenient way to share results privately with coworkers or publicly: just add your notebook with git to a repository with the appropriate permissions and share the URL.
GitHub Gists#
As an alternative to sharing entire folders/repositories, GitHub also has a standalone tool for sharing one-off single files called Gists.
Instead of making a Gist private, you can instead mark it secret: a secret Gist will still not be findable by Google or by searching in GitHub. But you can share the secret link with anyone even if they don’t have a GitHub account.
Like the main GitHub workflow, Gists will render notebooks, making it an excellent way to share results with others!
You can drag a file into the Gist window, or copy/paste the raw text of a file.
Issues#
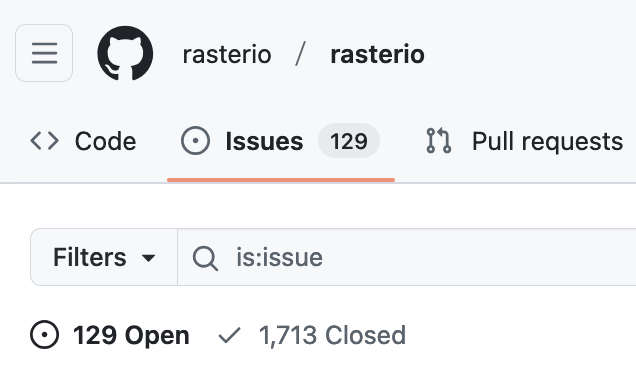
GitHub adds the concept of Issues to track things that are wrong with the code in a repository.
GitHub issues are an excellent resource for when you’ve tracked down a bug in your code to a particular dependency. Searching the issues is a good place to start (remove the state:open text first though: even if the issue is considered closed by the developers, the discussion thread can still contain the critical piece of wisdom you seek)
If you’re sure an issue in your code is caused by an issue in a dependency, you can create a new issue, and the beauty of open source software is that the developer might release a new version of the software that fixes your code!
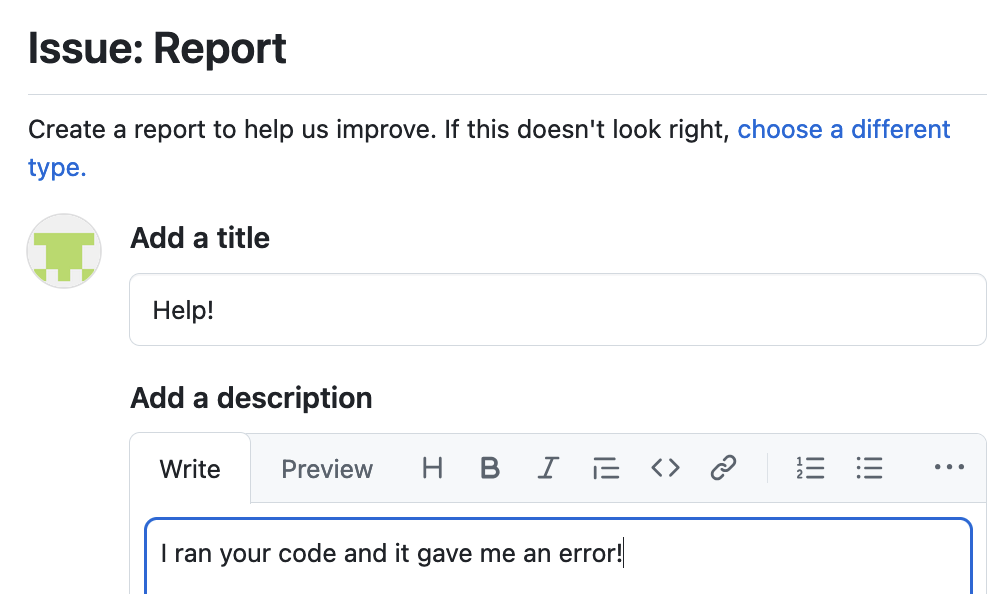
When opening a new issue, give the developers all the context needed to resolve things on their end. This is a bad bug report
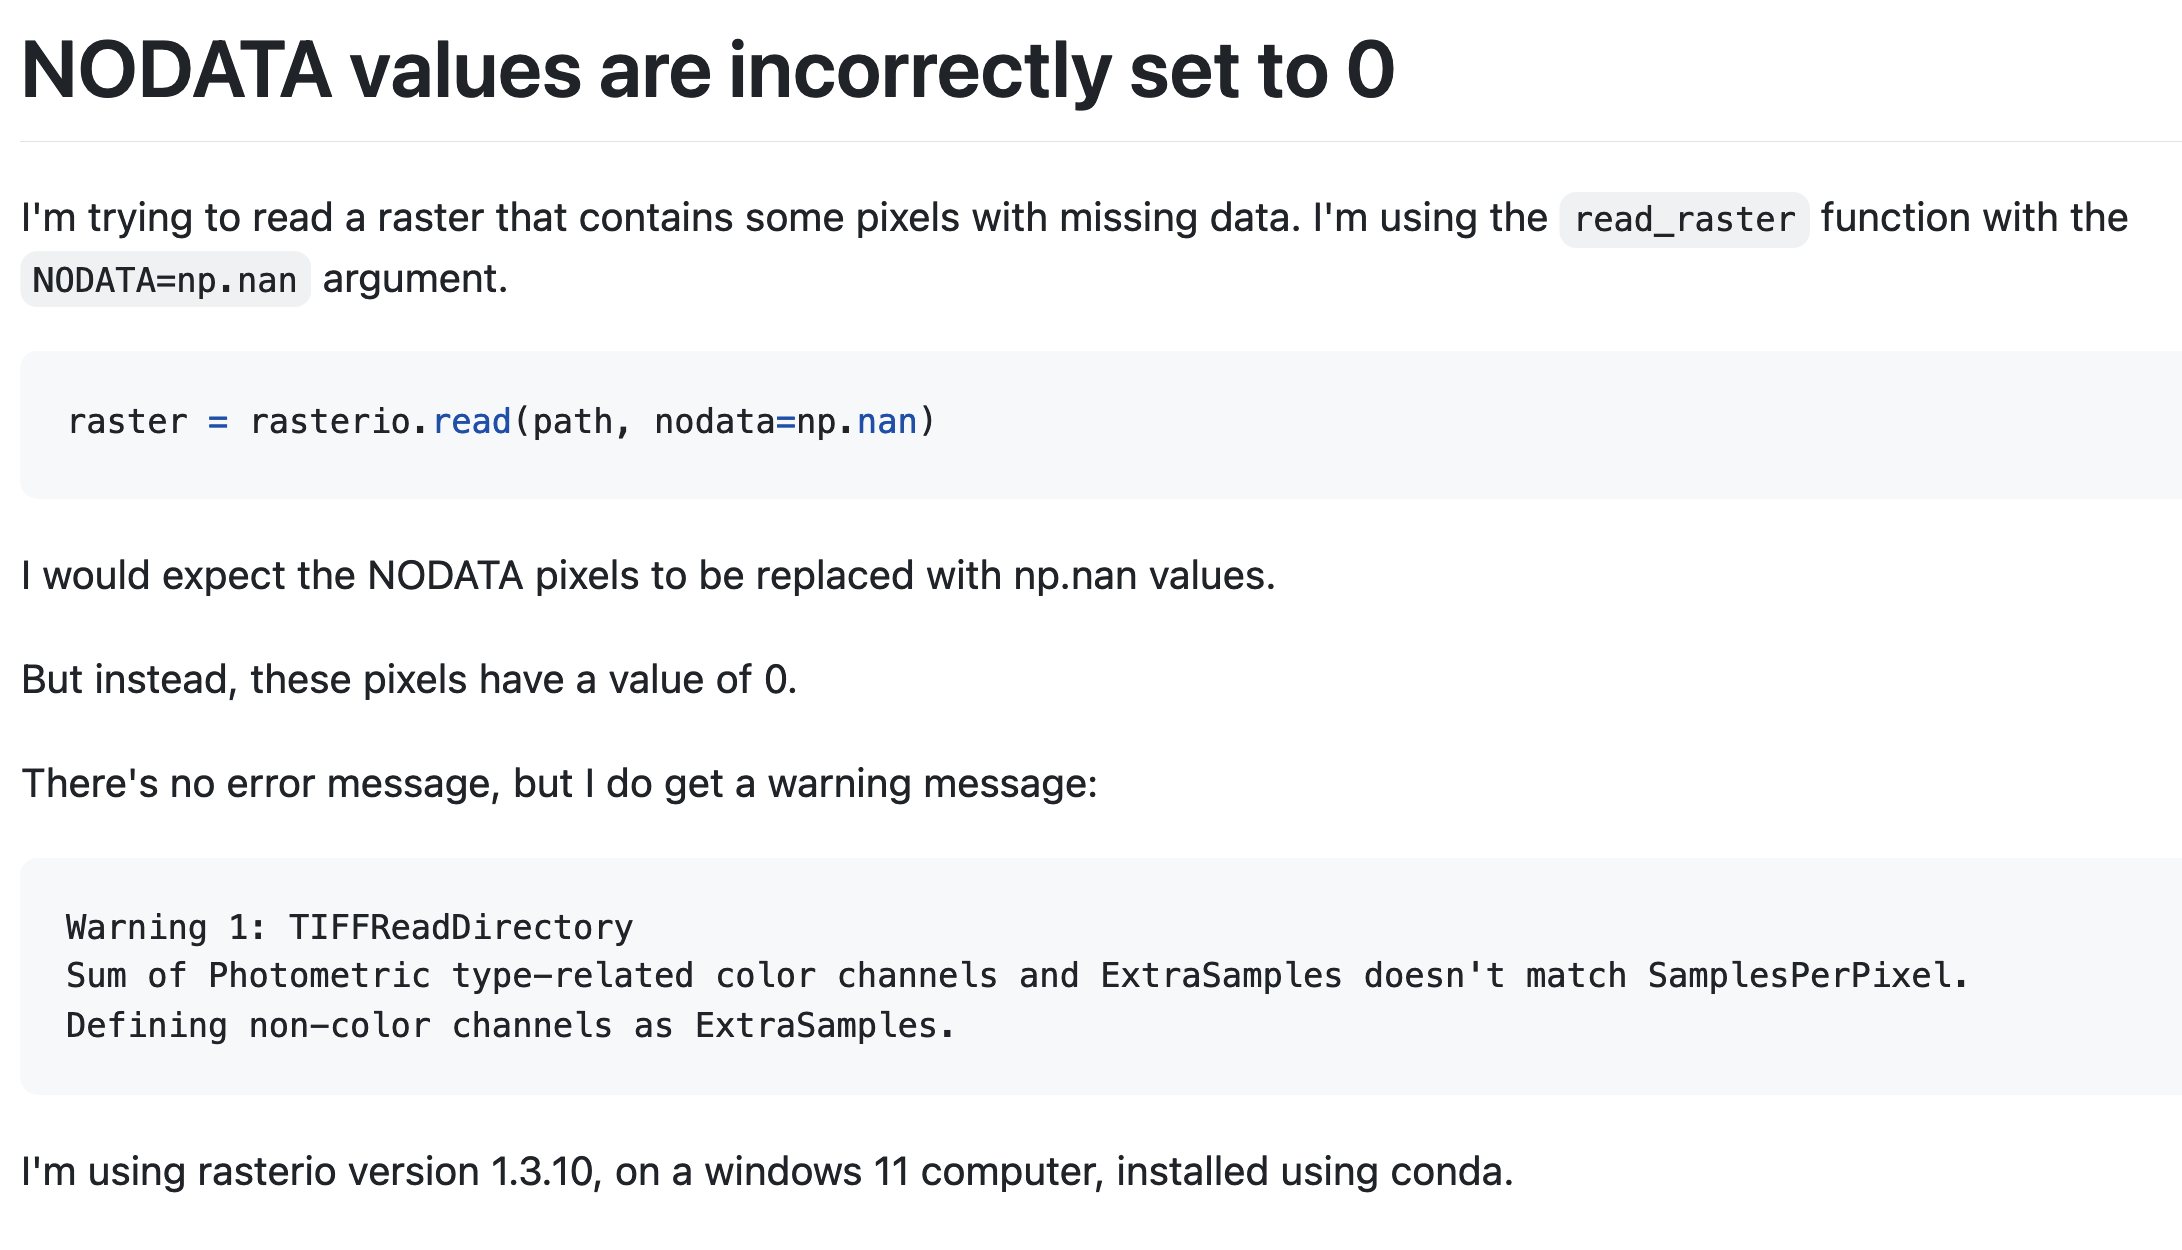
A good bug report will cover
What you did (including any relevant code)
What you expected to happen
What actually happened
The exact error message you got (if any)
Information about your environment
Here’s a better bug report
Commits#
A commit in git represents a change, i.e. a specific version of the repository. A commit can include multiple changed lines across multiple files.
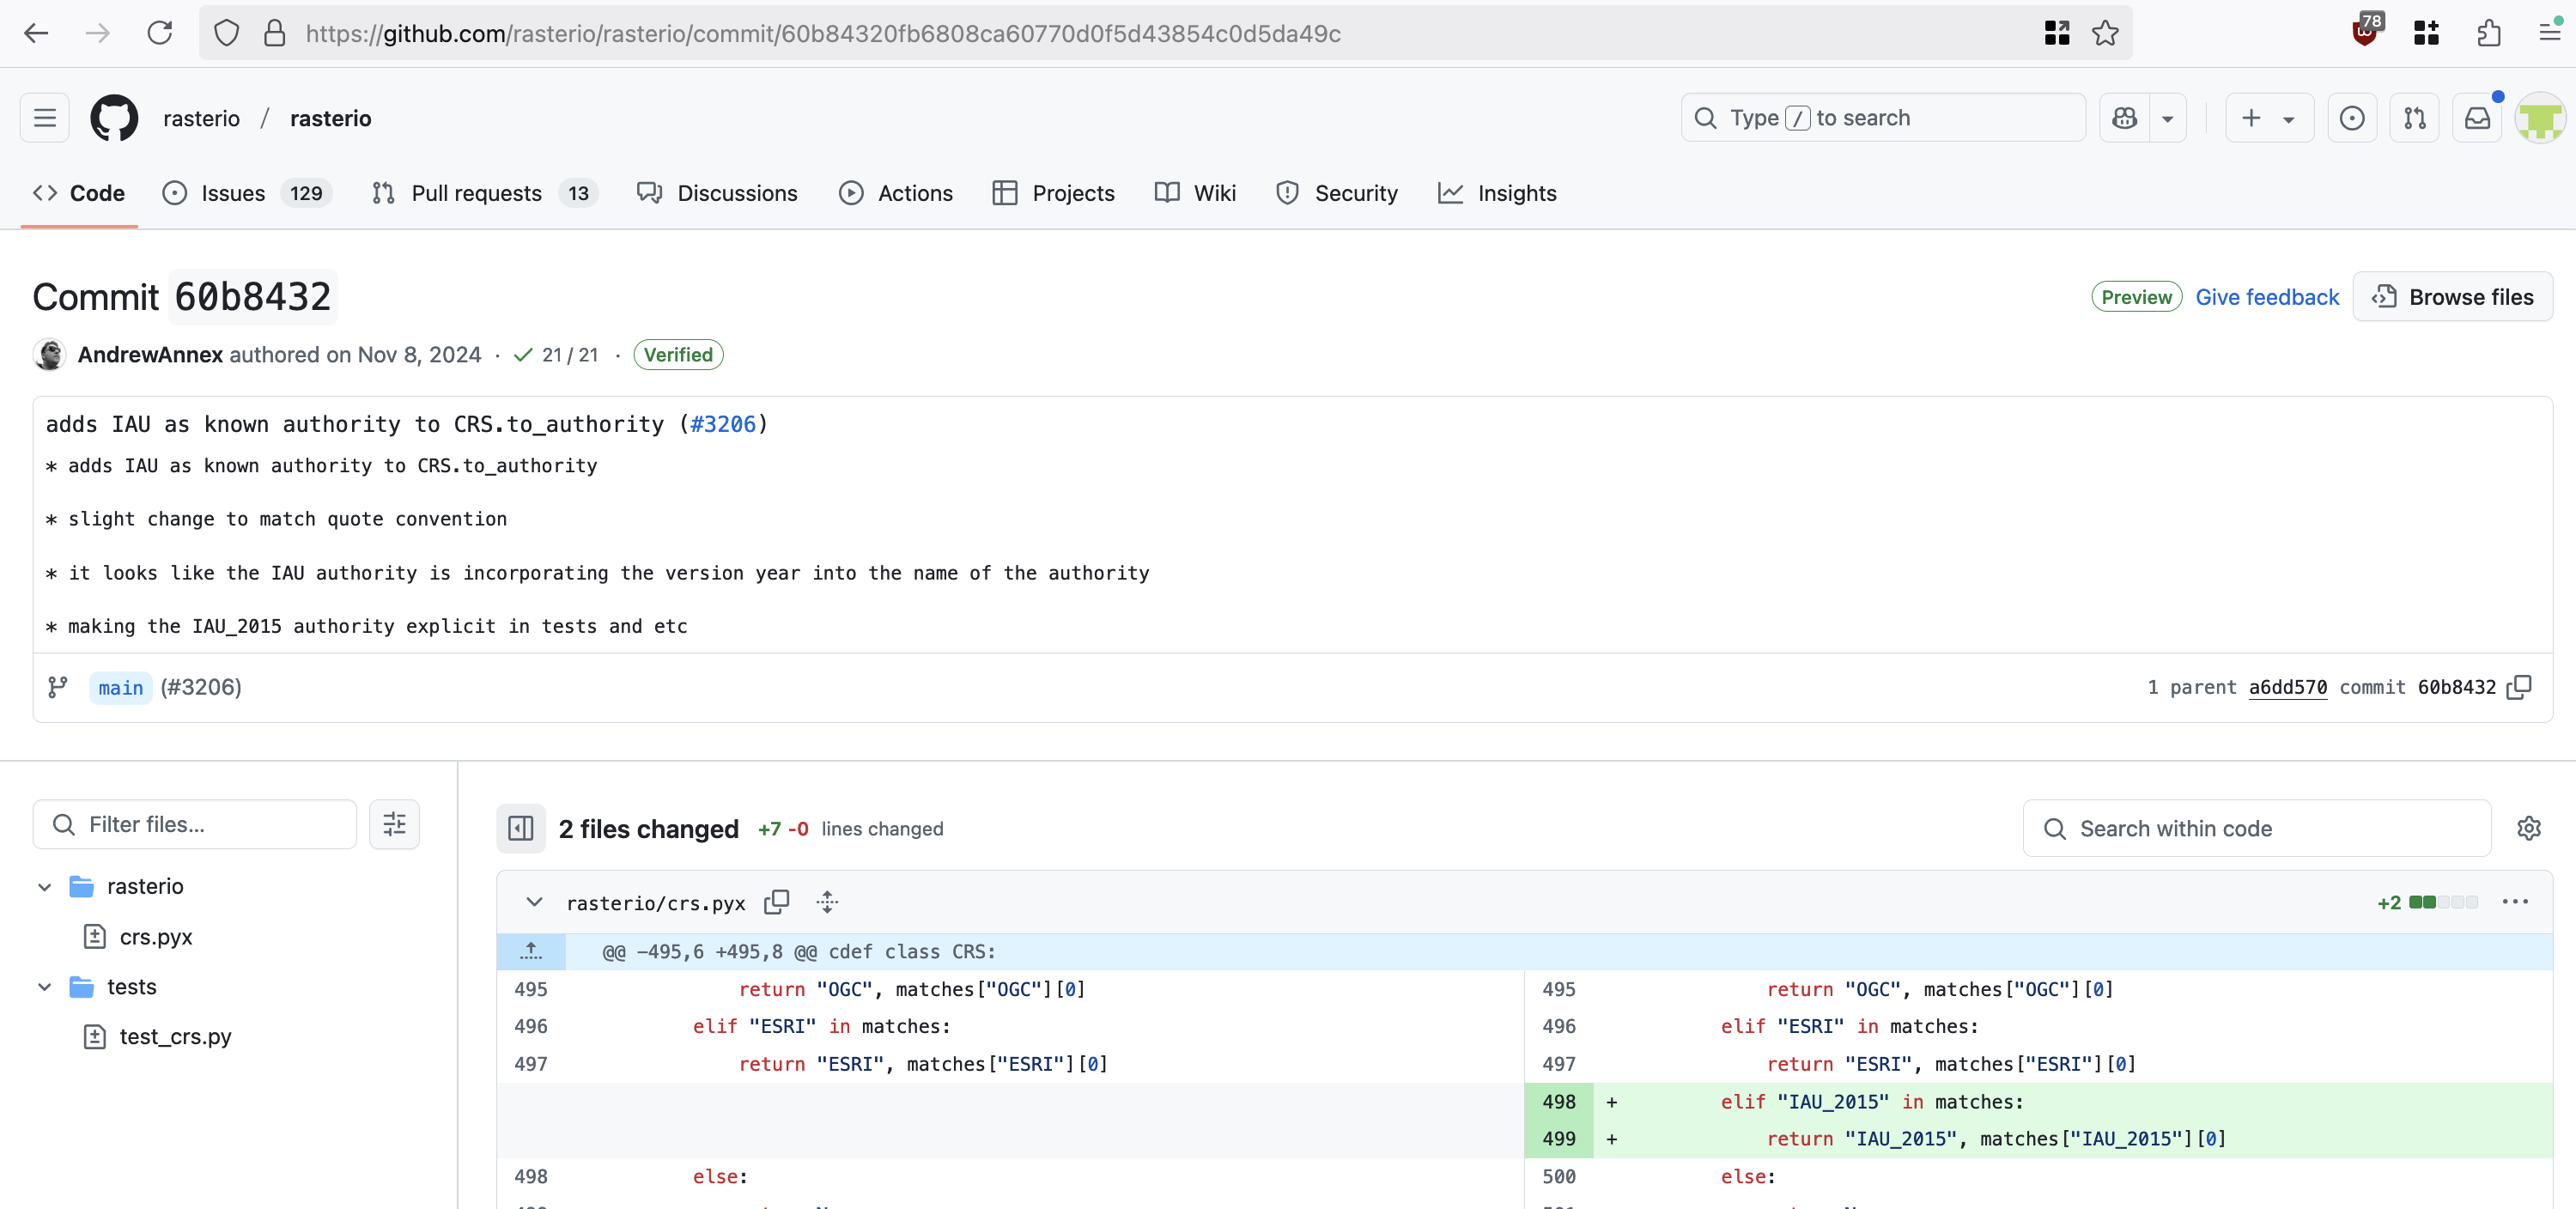
A commit has a number of components. Can you locate them all in the GitHub UI? Which of these have analogues in Word’s “Track Changes” mode, and which are unique to git?
Subject: a single line summarizing the changes. (Convention is to use the present tense).
Message: more lines following the subject, giving more detail about the changes.
The user who made the commit.
The date of the commit.
Which files were changed.
The actual code that was changed.
The number of lines added, and the number of lines removed.
The commit hash: a string of random characters that acts as an ID for the commit. (The full hash is 40 characters long, so often only the first 7 characters are shown as an abbreviation).
Commits can be viewed on their own. But because commits are the building blocks of git, you’ll see references to them throughout GitHub.
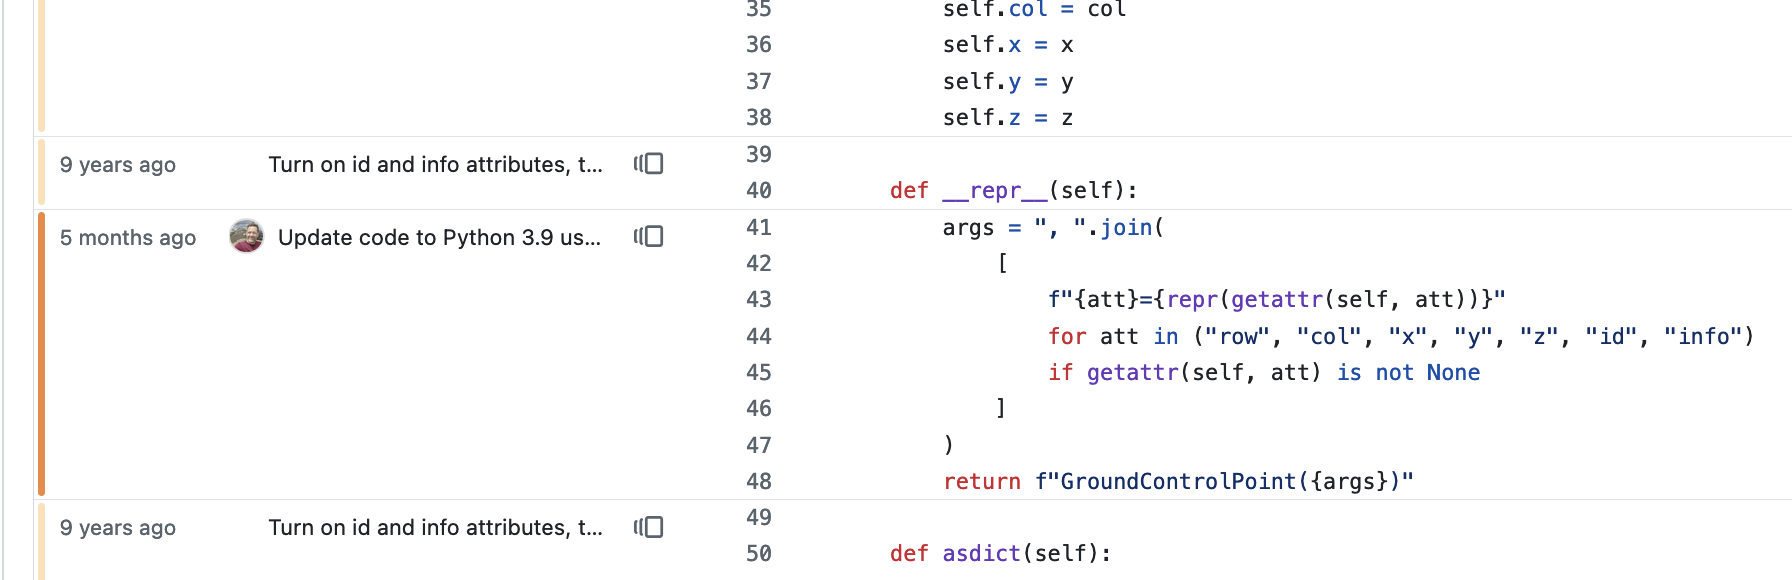
For example, “blame” mode shows the most recent commit that changed each line, so you can find out how old the code is, read the commit message for more context on how a line came to be, and learn who to blame for breaking your code!
Branches#
A powerful concept in git is the ability to use branches.
Branching in git is a way for multiple people to work on the same repository independently, and the ability to integrate that work back when it’s done.
Branching can also be used solo: you might be working in one branch on a long tricky experimental change, then create a second branch to implement a quick easy change without it impacting your experiment.
Every repository starts with a single branch called main. You might create a new branch called tweak-optimization-parameters to see if you can refine certain model parameters. The new branch starts off as an exact copy of main, but if new changes are added to the main branch they won’t be reflected in tweak-optimization-parameters. This is critical to repeatable analysis, you don’t want logic changing while you’re midway through a series of experiments!
When you’re ready, you can merge your branch into main. This will take the new model parameters from your branch, and apply them to the main branch with all the changes that happened since your branch was created.
This process highlights a core difference between software version control and typical document change history systems: with git, you’re in control of when changed are made to your code.
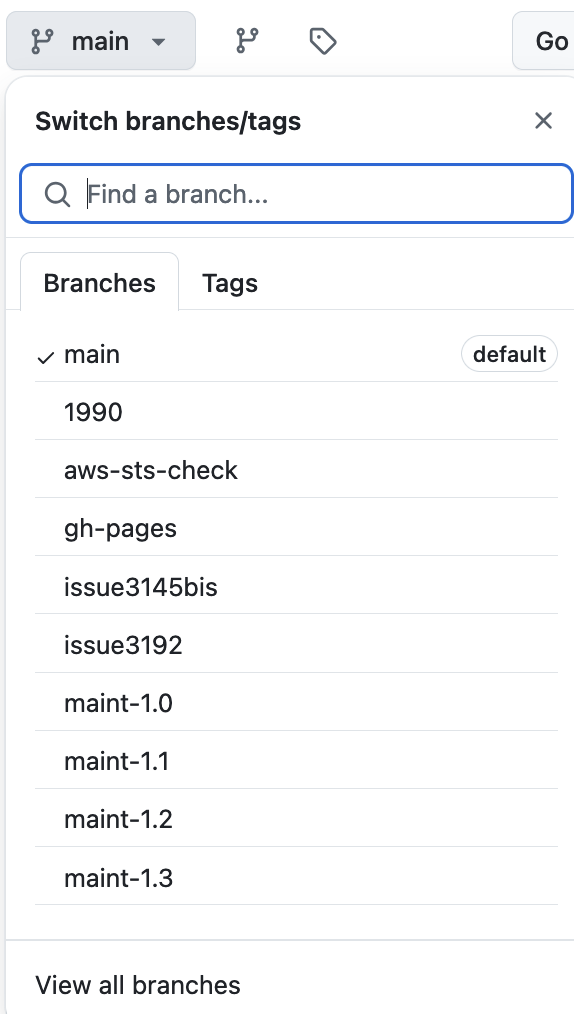
GitHub has a dropdown that lets you change branch, and explore the code and commits in the branch of your choosing.
Pull requests#
When you’re ready to incorporate your changes into the main branch, you can simply merge them and be done.
But GitHub offers an awesome tool for collaboration called pull requests.
A pull request is like a hypothetical merge: it shows what the code will look like after the merge, and offers a space to document and review these changes before doing the merge.
Pull requests let you
View changes line-by-line in GitHub’s UI (which most find easer than git’s command line UI)
Document the motivation behind your changes
Get feedback on your changes from a collaborator
Check for any mistakes in git’s merge algorithm (which is very smart, but not perfect)
While a pull request is open, you can keep adding commits to your branch (doing more work, or fixing any issues discovered in the pull request process). When you’re happy with how the pull request looks, it can be merged in the GitHub UI, and the branch deleted.
Using git#
Create a GitHub account#
You can technically use git without one, but an account at GitHub (or an alternative service like Gitlab or BitBucket) is how to get the most out of git’s collaboration features.
Sign up at github.com. It’s fairly common to use a personal account for work coding, though some people make a new work account for each job. Check with IT to see if they have a policy, and to be added to any private repositories.
Configuring git#
If you’ve never used git before on your computer, you’ll need to give it your login credentials.
Activate the conda environment that has git installed
conda activate py4wrds
then add your GitHub username and email
git config --global user.name "janeCodes88"
git config --global user.email "[email protected]"
There are a few other git config settings that we recommend you set:
# Use notepad for editing commit messages insted of vim.
git config --global core.editor notepad

# Use the new "main" instead of "master" naming to match GitHub.
git config --global init.defaultBranch main

# Automatically push to the remote of the same name.
git config --global push.autosetupremote true
Cloning a repository#
Downloading a repository with git is called cloning.
You’ll need a clone URL, which you can get from the “Code” dropdown of the GitHub repository page. Chose the HTTPS tab.
Using your Anaconda Prompt, navicate to where you would like to save the repo and clone it. You use two input arguments: the clone url, and the folder where the new git repo will live.
git clone https://github.com/py4wrds/py4wrds.git ./py4wrds-git-repo
When cloning a private repo, git will walk you through authenticating with GitHub.
Making changes#
You make changes to a git repo with your text editor, just like normal.
The status command shows what files have been changed since you last commited or cloned:
git status
On branch main
Your branch is up to date with 'origin/main'.

Changes not staged for commit:
  (use "git add <file>..." to update what will be committed)
  (use "git restore <file>..." to discard changes in working directory)
	modified:   conversion.py

no changes added to commit (use "git add" and/or "git commit -a")
In the output above we can see that the conversion.py has been modified.
To see exactly what has changed, use the diff command.
git diff
diff --git a/conversion.py b/conversion.py
index 00afc8c..a47e768 100644
--- a/conversion.py
+++ b/conversion.py
@@ -1,12 +1,18 @@
 ONE_DAY_IN_SECONDS = 86_400


+def feet_to_m(distance):
+    """Convert feet to meters."""
+    return distance / 3.28084
+
+
 def acre_feet_to_m3(volume_acre_feet):
     """Converts volume in US acre-feet to SI m³."""
     volume_m3 = volume_acre_feet * 1_233.482
     return volume_m3

+
 def cms_to_cfs(flow_cms):
     """Converts flow rate in cubic feet per second to cubic metres per second."""
     flow_cfs = flow_cms * 35.3146662
-    return flow_cfs
\ No newline at end of file
+    return flow_cfs
We can see a new feet_to_m function has been added, plus some minor formatting tweaks.
Pulling#
The pull command downloads any new changes that have been made to the GitHub repo since we last ran pull or clone.
It’s important to do this before committing new changes so you can be sure they don’t clash!
git pull
Committing the changes#
To commit our changes (save them with a message) git makes us do three separate steps
Select the files we want to commit with add. This is also called “staging”.
Save the changes locally with commit.
Up load the changes to GitHub with push.
Adding#
To add/stage the file we changed:
git add conversion.py
You can run this command multiple times with different files to add them all. You can also pass the --all flag to stage everything you changed.
git add --all
To see which files have been added and which files won’t be included in the commit:
git status
On branch main
Your branch is up to date with 'origin/main'.

Changes to be committed:
  (use "git restore --staged <file>..." to unstage)
	modified:   conversion.py

Untracked files:
  (use "git add <file>..." to include in what will be committed)
	unstaged.txt
Committing#
Save the changes with the commit command. You must include a descriptive message with the -m argument!
git commit -m "Add distance conversion function"
You can include longer messages with newlines if you want. Leave a blank line after the initial short description, and you’ll have to do your own line wrapping.
git commit -m "Add distance conversion function

Needed to support new geo utils library.

Also did some reformatting using the latest version of black, to
match the new style guide.
"
Pushing#
To upload your changes:
git push
Branches#
If you prefer to work in branches here’s how you would tweak the above workflow!
Before committing, create a new branch with
git switch --create add-dist-conversion
or switch to an existing one with
git switch add-dist-conversion
then make, add, commit, and push your changes as normal.
When you’re ready to merge your changes back into the main branch you can do that with the command line
git switch main
git merge --no-ff add-dist-conversion
But perhaps even better you can create a Pull Request on GitHub. Choose your branch as the “compare” branch and main as the “base” branch. Then after review the changes using the nice GitHub UI you can hit the big merge button in the pull request page.
It’s good practice to delete your branch after merging: you can do this on GitHub or with the commandline
git branch -d add-dist-conversion
Deleting a branch won’t lose any of your changes (in fact, the branch can still be undelted from GitHub!) but ensures no-one else will accidentally use the outdated code for development, and reduces clutter in your branch list.
What can’t git do?!#
.gitignore#
There are some files we don’t want in git
Sensitive information (like credentials)
Personal config (like your editor’s settings stored in
.vscode/)Files that change too frequently to be meaningful (like log files)
Files meant for machine consumption (like cache files)
To exclude these files from git you can put their paths into a file called .gitignore at the root of your repository.
GitHub can create one of these files for you when creating a new repository. For existing repositories, GitHub also has a list of common .gitignore entries for different kinds of projects.
Large data files#
GitHub is designed for code can’t handle large files. It’ll start to complain about files larger than 25MB, and block files larger than 100MB.
Repositories are limited to 5GB, and this is across all history too! So if you have a 500MB data file that you change in 10 different commits, you can quickly blow the repository size limit.
So it’s best to keep data files out of git. There is a git extension called LFS that is designed for handling data files using the git interface. But it’s often simpler just to keep large data files in the cloud: many geospatial tools are able to read from these services just as easily as with files!
Notebooks#
Don’t get us wrong: notebooks are code, and should be version controlled!
But there are a couple of areas where git and notebooks don’t fit together so well.
One is their size: a notebook with lots of large plots can start to push the size limits of git. If this happens to you, consider uploading the notebook without outputs as a compromise. That way your methodology (code) is still in git, anyone can take the notebook and recreate your outputs.
The other tricky thing about notebooks is that they don’t work with GitHub’s nice line-by-line difference UI, making pull request reviews tricky. Some options are
Use the GitNotebooks GitHub addon (may require your GitHub organization admin’s permission)
VSCode lets you create notebook cells in regular python files, which will diff normally (though these cells won’t be understood by other editors)
VSCode also has a builtin tool for comparing changes between notebooks
Git cheatsheet#
Git commands to handle common scenarios.
I want to change my commit message!#
git commit -m "Update install docs"
There’s a typo in the commit message! As long as you haven’t pushed the commit, you can edit the message of the most recent commit with
git commit --amend
and follow the prompts.
If you have pushed, then you’re out of luck.
I want to sneak another file into my commit!#
git commit -m "Update install docs"
After committing, you realize you forgot to remove a large temporary result file. Make your changes
rm ./data/massive-output.csv
add them
git add ./data
then commit without changing the commit message
git commit --amend --no-edit
I added something I didn’t mean to!#
git add -A
It’s nice to add all changed files with the -A flag, but eventually you end up adding something you didn’t mean to.
Git’s reset command undoes an add operation, returning the staged commit to what it was. The file you’re resetting is unchanged.
git reset personal-secrets.txt
Delete all my changes, get me back to the latest commit!#
If you’ve been experimenting with some code that you no longer need, and want to undo all your changes, you can run
git reset --hard
Unlike plain git reset <file>, the --hard flag will not only unadd any files, but will also modify and files that have changed since the last commit.